
|
Home
|


| IFFSnooper ... |

| This section pre-supposes that you have already re-coloured a single-tiled object, so you are familiar
with the basic process. (For the moment, IFFSnooper cannot display the complete object.) |
|
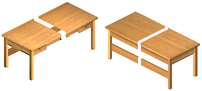
Re-colouring Multi-Tiled Objects |
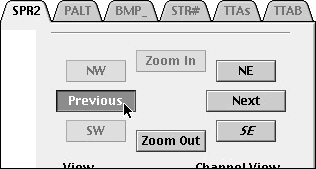
| Open IFFSnooper and go to the SPR2 tab. Clicking through all the buttons will display the different
views of both tiles at each zoom. Export the sprites, and Disassemble the resources. |
| To reassemble the p-sprite in Photoshop, I can only describe how I do it— you may have other,
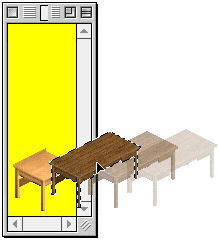
better methods. Open the large_front_p.bmp and convert it to RGB Colour (24-bit) Copy/paste or drag the object over and align it exactly on top of the original shape. This will create a new layer. |
| Jump to the beginning |
| In the exported_sprites folder, you'll find two sprite folders, one for each tile (DGRP). When you are working with multi-tiled objects it's best to copy the different parts of the object to a new 'work' file in your graphics' program, and piece them back together. Making any alterations to the whole object at once will ensure that there won't be any changes in the colour or texture at the join. |
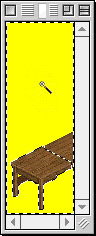
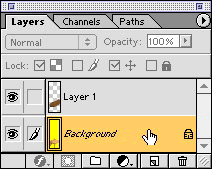
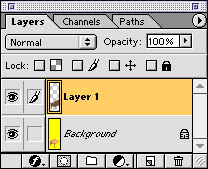
| Click the Background layer, then select the yellow colour so that the original object is outlined. |
|
Click Layer 1 and press Clear (backspace key). Merge the layer down (Cmd-E) and save in RGB colour. |
|
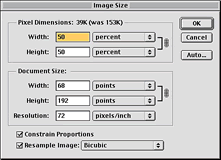
Do the same for all
the large p-sprites. The medium and small p-sprites are created by scaling down the large zoom. You will need to fix up the anti-aliased edges to make them sharp and jagged again. |
| For TMog/VPC users: If you have ever had to rename all your longer than 31-characters sprite filenames and/or change them all in the .xml file, let IFFSnooper shorten the filenames for you. Just export and import to create a new object.iff using IFFSnooper and put it into TMog — saves a lot of hassle! |
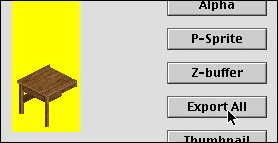
| When all your p-spites are ready, go back to IFFSnooper and Import the sprite frames. Click Export All to create a folder of new PALT and SPR2 resource files. |
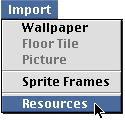
| Replace the old PALT and SPR2 files in the original resources folder with the new ones. Import the Resources, and save your new object. |
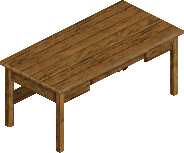
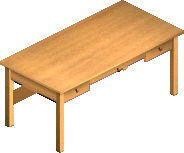
| Remember to enter a new name and description for your object in the CTSS screen. Also, clone your new object to give it a new GUID number so that it will show up in your game. Beware: multi-tiled objects have more than one GUID. There is one main GUID for the object as a whole and another GUID for each tile (DGRP) — that's 3 in all for the desk. Cloning the object will add 1 to each of the three GUID numbers. Update 23 June 03 IFFSnooper will now let you enter your Magic Cookie for all the GUIDs that an object may have. Click the Previous and Next buttons to see them all. |