
|
Home
|

| IFFSnooper ... |

| You do need to take care when choosing a photograph or drawing on which to base your new object. Whether it requires a back view should be considered and it needs to be at the correct Sims angle. |
|
Making a New |
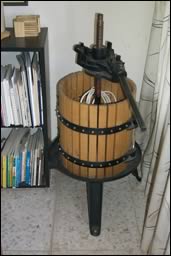
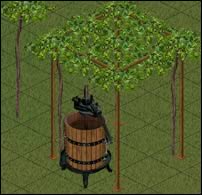
| An object based on a photograph can look very flat when viewed in the game. Apart from changing textures, etc. I use the darken/lighten tool a lot, to deepen the shadows and touch up the highlights to enhance the 'depth' of the object. You want it to look natural but in a Sims sort of way. |
| Make sure the object's colouring goes right up to the jagged edges — don't leave any anti-aliased
bits. You could copy/paste it onto a screenshot from the game to make the final tweaks of hue, saturation, lightness, contrast, etc. before copying it to the p-sprite. |
| Jump to the beginning |
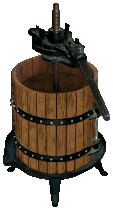
| Make your p-sprite. I am using Maxis' Bust of Athena sculpture as a base. This tutorial pre-supposes that you have already used IFFSnooper to re-colour an object, and that you are famililar with Photoshop. |
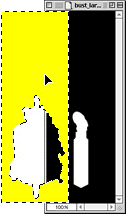
| Because the a-channel is in Indexed Colour (8-bit) the yellow turns to grey. Fill the background with pure black, Invert the selection (Cmd-Shift-I) and press Clear (backspace key). |

|
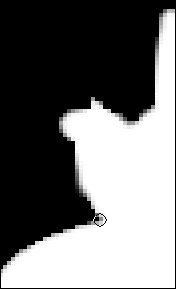
It is here in the a-channel that the jagged edges are softened, inside the object's shape. This is the way I do it. Convert your image to Greyscale, select the black, copy and paste — you will now have a second layer of just
the black 'mask' with a transparent shape. |
| Click on the bottom layer (Background) ... |
| Open the a-channel file (bust_large_front_a.bmp). Make sure that anti-aliasing is turned off then copy/paste or drag the yellow background onto the a-channel. |
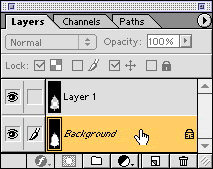

| Remember, you are working underneath the top (masking) layer. Every so often, sit back and squint at the screen to check that the softening is even. Once you're familiar with using the Smudge Tool like this you can smooth round the whole object quite quickly. When you've finished, merge the top (untouched) layer down. |
| ... and SMUDGE!! I use the Smudge Tool set at 65% with the 3-pixel Hard Round brush. |
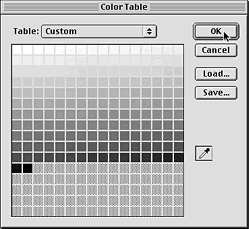
| A colour table is displayed. Click OK and save. |
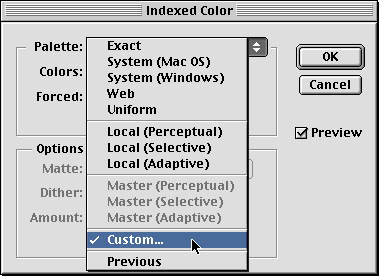
| Fireworks If you are using Fireworks, export the a-channel using BMP 8. You're done! Photoshop IFFSnooper doesn't always like the Photoshop default Greyscale or Indexed Colour palettes and you need to force Photoshop to save a Custom colour table — like this: Set the Image mode to RGB Colour (24-bit). Immediately, set the Image mode to Indexed Colour. Photoshop will display an options box. Choose Custom. |
| Now for the zzzzzzzzzzzzzz-buffers! |


